The Steps Involved in the Mold Design Process
Introduction
Mold design process is a crucial aspect of custom manufacturing that involves creating a blueprint for a mold that will be used to produce a final product. This process is essential because it ensures that the final product meets the required specifications, is of high quality, and can be produced efficiently.
To ensure a successful mold design process, it is essential to use a structured approach. One such approach is the MECE (Mutually Exclusive, Collectively Exhaustive) framework, which involves breaking down the process into smaller, more manageable parts. This approach helps to identify any gaps or overlaps in the process and ensures that no critical steps are missed. In this guide, we will take an in-depth look at each step of the mold design process and provide valuable tips and insights to ensure a successful final product. We will also explore the benefits of using the MECE framework to break down the process and ensure that each step is executed efficiently and effectively.

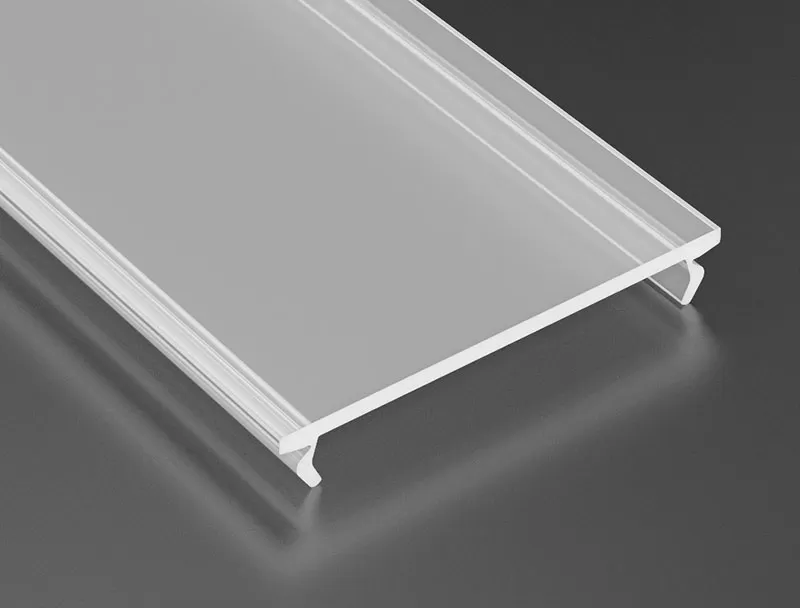
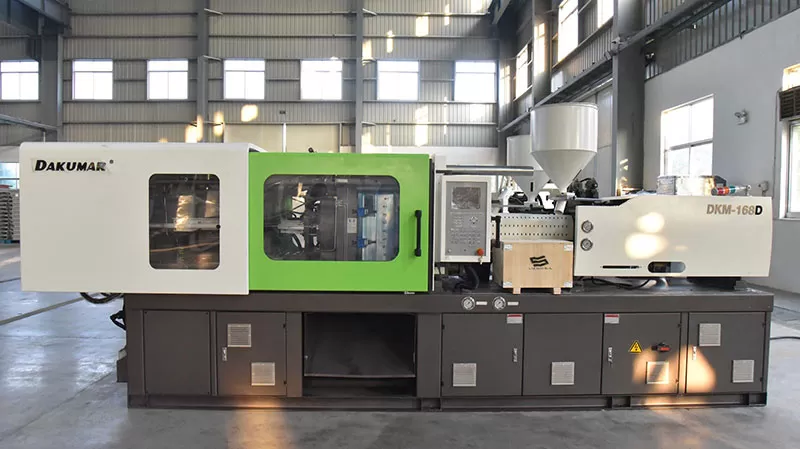
Plastic Injection Tooling Design Guide
Step 1: Conceptualizing the Design
The first step in the mold design process is conceptualizing the design. This step involves understanding the product requirements and specifications, creating a design brief, and brainstorming to develop unique ideas for the mold design.
What this step entails
The conceptualization stage is where the initial design ideas are developed, and the product concept begins to take shape. It involves identifying and understanding the product requirements, specifications, and any constraints that will impact the mold design. This is the time to ask questions, gather information, and define the scope of the project.
Understanding the product requirements and specifications
Understanding the product requirements and specifications is crucial in the mold design process. It helps ensure that the final product meets the necessary standards, is of high quality, and can be produced efficiently. This step also helps to identify any potential design challenges and develop solutions to overcome them.
How to create a design brief
A design brief is a document that outlines the design objectives, requirements, and constraints for the mold design project. It should include information such as the product specifications, the target market, the timeline, and the budget. A well-written design brief helps to ensure that everyone involved in the project is on the same page and has a clear understanding of the project scope.
When creating a design brief, it is important to be as detailed as possible. This will help to ensure that the final product meets all the necessary requirements and minimizes the risk of costly design errors. The design brief should also include any design references, such as sketches, images, or samples, that will help the design team understand the product requirements and specifications.
Tips for brainstorming and developing unique ideas
Brainstorming is a critical step in the mold design process. It helps to generate ideas and explore different design options. Here are some tips for effective brainstorming and developing unique ideas:
- Start with research: Conduct research on similar products to understand the market trends, design options, and potential challenges. This can help to identify opportunities for innovation and unique design features.
- Define the design goals: Clearly define the design goals and objectives in the design brief. This will help to focus the brainstorming session on the key design requirements.
- Encourage collaboration: Encourage collaboration among the design team members to generate diverse and creative ideas. This can be achieved through group brainstorming sessions or online collaboration tools.
- Use visual aids: Visual aids such as sketches, 3D models, or digital renderings can help to bring ideas to life and facilitate discussion among team members.
- Evaluate and refine ideas: Evaluate the generated ideas against the design goals and objectives, and eliminate any ideas that do not meet the requirements. Refine the remaining ideas to ensure they meet the necessary specifications and are feasible to execute.

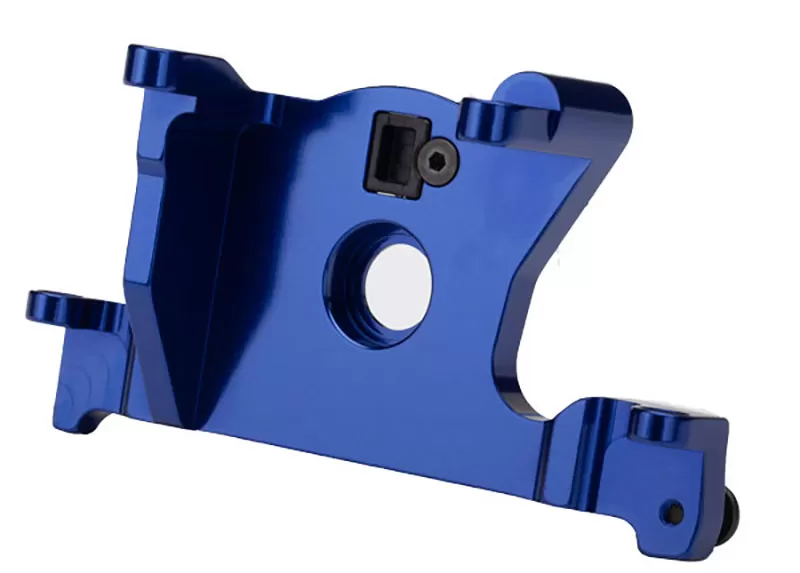
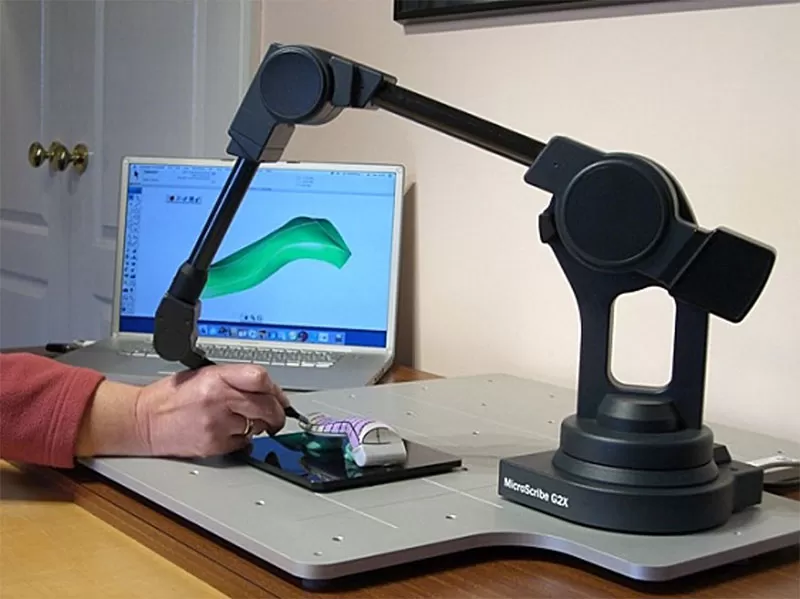
Mold Design For Your Tooling Needs
Step 2: Designing the Mold
The second step in the mold design process is designing the mold. This step involves selecting the right materials and manufacturing methods, understanding the different types of molds, and designing a mold that meets the product specifications.
Step entails
The mold design process is an iterative process that involves designing a mold that meets the product specifications, testing the mold, and refining the design as needed. The mold design should consider material selection, manufacturing methods, and the desired end-product’s specifications. The mold design process should also consider the production volume, production speed, and cost.
Selecting the right materials and manufacturing methods
Selecting the right materials and manufacturing methods is critical to the mold design process’s success. Material selection should consider factors such as the product’s desired properties, the production volume, and the desired end-product’s specifications.
Manufacturing methods should also be considered in the mold design process. Different manufacturing methods can impact the mold’s design, the production speed, and the overall cost. Common manufacturing methods include injection molding, blow molding, and rotational molding.
Different types of molds
There are different types of molds used in custom manufacturing. The most common types of molds include:
- Two-plate molds: Two-plate molds are the most common type of mold used in custom manufacturing. They consist of two plates that are opened and closed to release the final product.
- Three-plate molds: Three-plate molds are similar to two-plate molds, but they have an extra plate that separates the final product from the runner and gate. This allows for more complex part designs and reduces waste.
- Hot runner molds: Hot runner molds are used in high-volume production. They have a heated system that keeps the plastic in a molten state, allowing for faster production and less waste. Check more about Hot Runners in Mold Tooling.
- Cold runner molds: Cold runner molds are used in low-volume production. They have a runner and gate system that is cooled, causing the plastic to solidify before being ejected from the mold.
Tips for designing a mold that meets the product specifications
Designing a mold that meets the product specifications is critical to the mold design process’s success. Here are some tips for designing a mold that meets the product specifications:
- Consider the product’s geometry: The mold design should consider the product’s geometry, including its size, shape, and surface finish.
- Account for shrinkage: The mold design should account for material shrinkage during the cooling process to ensure the final product meets the desired specifications.
- Optimize the gate location: The gate location should be optimized to ensure the plastic flows smoothly through the mold and minimizes any cosmetic defects.
- Use simulation software: Simulation software can help to identify potential design issues and optimize the mold design before production begins.
- Test and refine the design: The mold design should be tested and refined as needed to ensure the final product meets the desired specifications. This includes testing the mold with different materials, production volumes, and manufacturing methods.
- Collaborate with the production team: Collaboration between the mold design team and the production team can help to ensure the final product meets the necessary requirements. The production team can provide valuable feedback on the mold design’s feasibility, production speed, and cost.

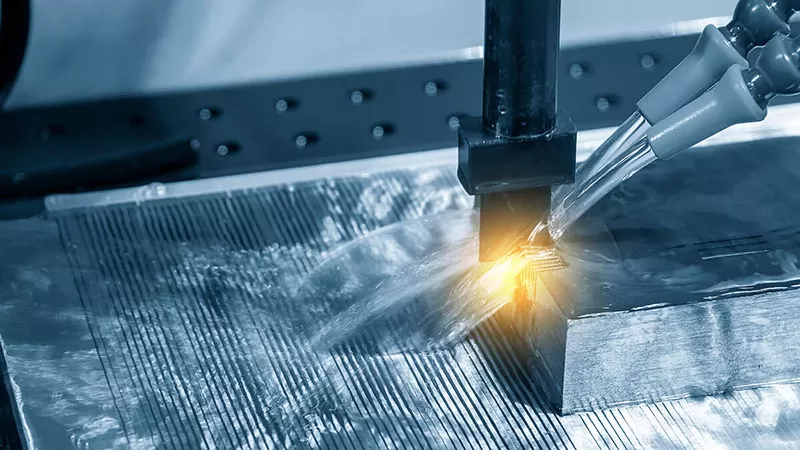
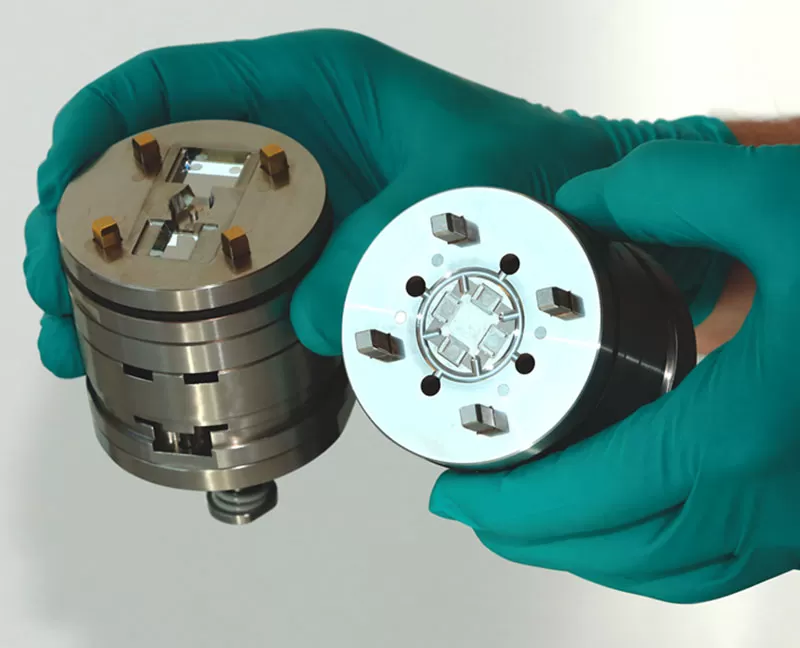
Plastic Injection Mold Making And Tooling
Step 3: Creating a Prototype
The third step in the mold design process is creating a prototype. This step involves testing the mold design before mass production, understanding the different prototyping methods available, and creating a prototype that accurately represents the final product.
Creating a prototype is a critical step in the mold design process. It allows for the testing and validation of the mold design before mass production, reducing the risk of costly design errors and ensuring the final product meets the necessary requirements. The prototype should accurately represent the final product, including its size, shape, and material properties.
Importance of testing the mold design before mass production
Testing the mold design before mass production is critical to the mold design process’s success. It can help to identify any design flaws, optimize the production process, and ensure the final product meets the necessary requirements. Testing the mold design can also help to reduce the risk of costly errors during mass production, such as machine downtime or product defects.
Different prototyping methods available
There are several prototyping methods available for testing the mold design, including:
- 3D printing: 3D printing can be used to create a physical prototype quickly and cost-effectively. It allows for the testing of the mold design’s fit, form, and function.
- CNC machining: CNC machining is a precise and accurate prototyping method that can be used to create a prototype from a solid block of material.
- Vacuum casting: Vacuum casting is a low-volume prototyping method that uses silicone molds and polyurethane resin to create functional prototypes.
- Injection molding: Injection molding is a high-volume prototyping method that uses the same materials and manufacturing process as mass production.
Tips for creating a prototype that accurately represents the final product
Creating a prototype that accurately represents the final product is critical to the mold design process’s success. Here are some tips for creating a prototype that accurately represents the final product:
- Select the right prototyping method: The prototyping method should be selected based on the production volume, material properties, and production speed required.
- Use the same materials: The prototype should be made using the same materials and manufacturing process as the final product to ensure accuracy.
- Test the prototype under different conditions: The prototype should be tested under different conditions, such as temperature and pressure, to ensure it meets the necessary requirements.
- Validate the prototype: The prototype should be validated against the design brief to ensure it meets all the necessary requirements.
- Refine the mold design as needed: The prototype testing may uncover design flaws or areas for improvement. The mold design should be refined as needed to ensure the final product meets the necessary requirements.
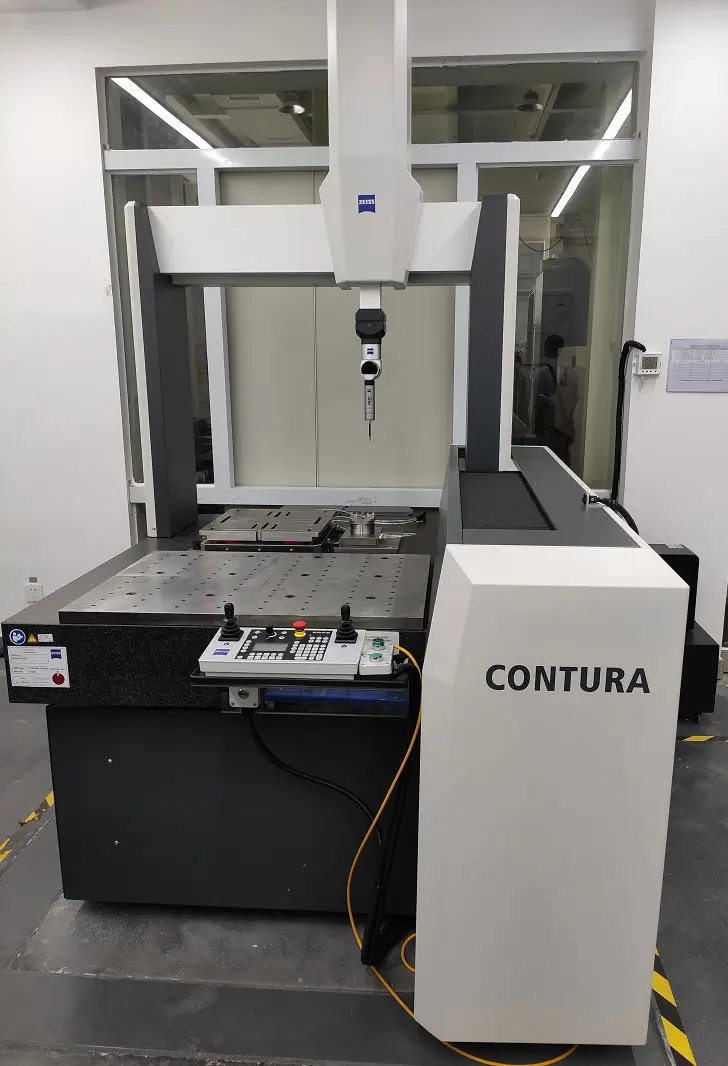
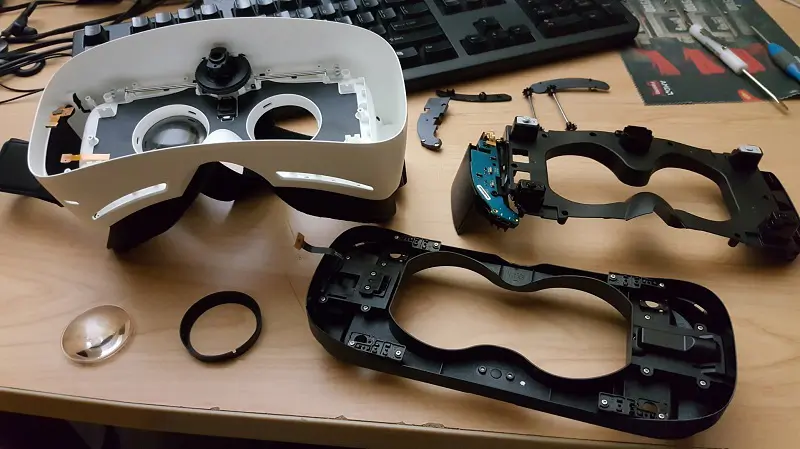
Ziss Contura Three Coordinate Detection
Step 4: Testing and Validation
The fourth step in the mold design process is testing and validation. This step involves testing the mold prototype to ensure it meets the product requirements, understanding the different types of testing and validation methods, and conducting a thorough testing and validation process.
Testing and validation are critical steps in the mold design process. It involves testing the mold prototype to ensure it meets the necessary requirements and validating the design against the design brief. The testing and validation process should consider factors such as material properties, dimensional accuracy, and the production process’s efficiency.
Importance of testing the mold prototype to ensure it meets the product requirements
Testing the mold prototype is critical to the mold design process’s success. It can help to identify any design flaws or areas for improvement, ensure the final product meets the necessary specifications, and reduce the risk of costly design errors during mass production. Testing the mold prototype can also help to optimize the production process, reduce waste, and minimize production downtime.
Different types of testing and validation methods
There are different types of testing and validation methods available for the mold design process, including:
- Material testing: Material testing involves testing the material properties, such as strength, elasticity, and thermal properties, to ensure they meet the necessary requirements.
- Dimensional accuracy testing: Dimensional accuracy testing involves testing the mold prototype’s dimensional accuracy to ensure it meets the necessary specifications.
- Production efficiency testing: Production efficiency testing involves testing the mold prototype to ensure the production process is efficient and optimized for mass production.
- Environmental testing: Environmental testing involves testing the mold prototype’s performance under different environmental conditions, such as temperature, humidity, and pressure.
- Functionality testing: Functionality testing involves testing the mold prototype’s function to ensure it meets the necessary requirements and performs as expected.
Tips for conducting a thorough testing and validation process
Conducting a thorough testing and validation process is critical to the mold design process’s success. Here are some tips for conducting a thorough testing and validation process:
- Develop a testing plan: A testing plan should be developed that outlines the testing methods, testing parameters, and acceptance criteria.
- Conduct extensive testing: The testing process should be extensive and cover all necessary testing and validation methods.
- Use testing equipment: Testing equipment, such as coordinate measuring machines (CMMs) and environmental testing chambers, can help to ensure accurate testing results.
- Involve the production team: The production team should be involved in the testing and validation process to provide valuable feedback on the mold design’s feasibility, production speed, and cost.
- Refine the mold design as needed: The testing and validation process may uncover design flaws or areas for improvement. The mold design should be refined as needed to ensure the final product meets the necessary requirements.
- Document the testing results: The testing results should be documented to ensure that the mold design meets all necessary specifications and can be reproduced consistently.
- Use statistical analysis: Statistical analysis can be used to analyze the testing results and identify any trends or patterns that may indicate design flaws or areas for improvement.
- Validate against the design brief: The testing and validation results should be validated against the design brief to ensure the final product meets all necessary requirements.
- Continuously improve the process: The testing and validation process should be continuously improved to optimize the production process, reduce waste, and minimize production downtime.
Step 5: Refining the Design
The fifth and final step in the mold design process is refining the design. This step involves refining the mold design based on testing and validation results, identifying and addressing design flaws, and making design changes without compromising the product specifications.
Refining the mold design is an iterative process that involves making design changes based on the testing and validation results. It is critical to ensure that the final product meets all necessary requirements and can be produced efficiently. The design changes should consider factors such as material properties, dimensional accuracy, and production process efficiency.
Importance of refining the mold design based on testing and validation results
Refining the mold design based on testing and validation results is critical to the mold design process’s success. It can help to identify design flaws or areas for improvement, optimize the production process, reduce waste, and ensure the final product meets the necessary specifications. Refining the mold design can also help to reduce the risk of costly design errors during mass production.
How to identify and address design flaws
Identifying and addressing design flaws is a critical step in the mold design process. The following steps can be taken to identify and address design flaws:
- Review the testing and validation results: Review the testing and validation results to identify any design flaws or areas for improvement.
- Analyze the data: Analyze the data to identify any trends or patterns that may indicate design flaws or areas for improvement.
- Involve the production team: Involve the production team in the design review process to provide valuable feedback on the mold design’s feasibility, production speed, and cost.
- Use statistical analysis: Use statistical analysis to analyze the data and identify any trends or patterns that may indicate design flaws or areas for improvement.
- Test different scenarios: Test different scenarios to identify potential design flaws or areas for improvement. For example, test the mold design with different materials, production volumes, or environmental conditions.
- Refine the design: Refine the design based on the testing and validation results, making design changes to address any identified design flaws or areas for improvement.
Tips for making design changes without compromising the product specifications
Making design changes without compromising the product specifications is critical to the mold design process’s success. Here are some tips for making design changes without compromising the product specifications:
- Use simulation software: Simulation software can help to identify potential design flaws or areas for improvement before making any design changes.
- Validate design changes: Validate any design changes against the design brief to ensure they do not compromise the product specifications.
- Test the mold design: Test the mold design after making any design changes to ensure it meets the necessary requirements.
- Involve the production team: Involve the production team in the design review process to ensure any design changes do not compromise production speed or cost.
- Document all design changes: Document all design changes to ensure they can be reproduced consistentlyand to maintain a record of the design iteration process.
- Consider the impact on the production process: Consider the impact of any design changes on the production process, including the production speed, cost, and waste.
- Minimize design changes: Minimize design changes to reduce the risk of compromising the product specifications and to minimize the impact on the production process.
- Plan for future improvements: Plan for future improvements to the mold design to ensure it remains optimized for mass production and can adapt to changing market needs.
Step 6: Finalizing the Design
The final step in the mold design process is finalizing the design. This step involves finalizing the mold design based on the testing and validation results, creating a final design specification document, and ensuring the final design meets all product requirements.
Finalizing the mold design is the last step in the mold design process, and it involves creating a final design specification document. This document outlines the final mold design and includes all necessary details to ensure the mold can be produced efficiently and meets all necessary requirements.
Importance of finalizing the mold design before mass production
Finalizing the mold design before mass production is critical to the mold design process’s success. It ensures that the final product meets all necessary requirements and can be produced efficiently. Finalizing the mold design before mass production also reduces the risk of costly design errors and production downtime.
How to create a final design specification document
Creating a final design specification document involves gathering all necessary information and details about the mold design. The final design specification document should include the following details:
- Material specifications: The material specifications should include the type of material used, its properties, and any necessary information about the material’s handling and storage.
- Mold specifications: The mold specifications should include the mold’s design details, such as its dimensions, gating system, and ejection system.
- Production details: The production details should include information about the production process, suchas the production speed, temperature and pressure requirements, and any necessary steps for post-processing and finishing.
- Testing and validation results: The testing and validation results should be included in the final design specification document to ensure that all necessary tests have been conducted and the mold design meets the necessary requirements.
- Design history and iteration process: The final design specification document should include a summary of the mold design history, including any design changes made during the iteration process.
Tips for ensuring the final design meets all product requirements
Ensuring the final design meets all product requirements is critical to the mold design process’s success. Here are some tips for ensuring the final design meets all product requirements:
- Review the design specification document: Review the final design specification document to ensure that all necessary details and requirements are included.
- Validate the design against the design brief: Validate the final design against the design brief to ensure it meets all necessary requirements.
- Test the mold design: Test the mold design to ensure it meets all necessary requirements and performs as expected.
- Involve the production team: Involve the production team in the design review process to ensure the final design is optimized for mass production and can be produced efficiently.
- Document the final design: Document the final design to ensure it can be reproduced consistently and to maintain a record of the design iteration process.
- Consider future improvements: Consider future improvements to the mold design to ensure it remains optimized for mass production and can adapt to changingmarket needs.
- Conduct a risk assessment: Conduct a risk assessment to identify any potential risks or issues that may arise during mass production and address them in the final design.
- Ensure compliance with regulatory requirements: Ensure that the final mold design complies with all necessary regulatory requirements for the intended market.
- Consider the impact on the environment and sustainability: Consider the mold design’s impact on the environment and sustainability factors, such as the use of eco-friendly materials, to ensure the final product is environmentally responsible.
Conclusion
The mold design process is a critical component of manufacturing that involves designing and testing a mold to ensure the final product meets all necessary requirements. It is essential to follow each step in the mold design process to ensure a successful final product. Skipping or rushing any step can lead to costly design errors or production downtime. Testing and validating the mold design, refining the design based on testing results, and finalizing the design with a comprehensive specification document are crucial steps to ensure the final product meets all necessary requirements.
If you are considering starting a mold design process, using the MECE framework is an effective way to ensure each step of the process is comprehensive and thorough. By following the mold design process, you can ensure the final product meets all necessary requirements and can be produced efficiently, reducing the risk of costly design errors and production downtime.