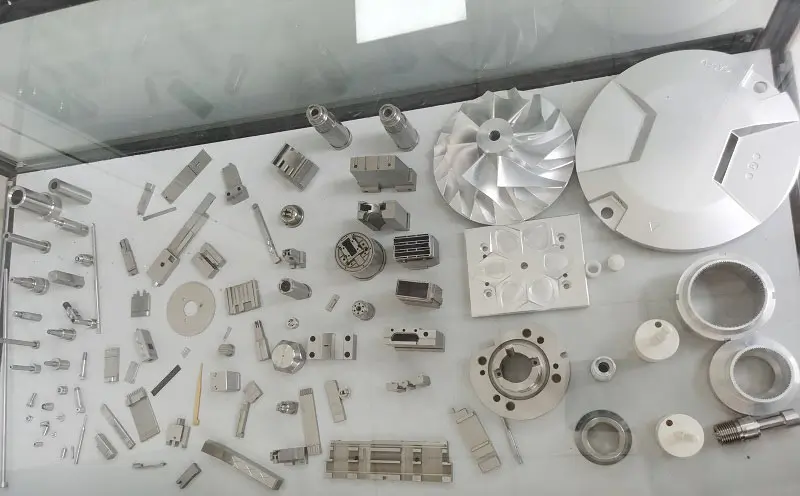
Precision Injection Mold Tooling Steps Processed in M2
Precision injection mold tooling is a crucial process in the manufacturing of high-quality plastic products. It involves the creation of intricate and complex molds that are used to shape and form plastic materials into specific designs. This process demands great precision and attention to detail to ensure that the final product meets the desired specifications. Today Jason Wang from M2 Prototype will discuss the steps involved in precision injection mold tooling.
What is Precision Injection Mold Tooling?
Precision injection mold tooling is the process of creating molds that are used to shape and form plastic materials into specific designs. These molds are created with great precision and attention to detail to ensure that the final product meets the desired specifications. It is used in a variety of industries, including automotive, aerospace, medical, and consumer goods.
Precision injection mold tooling is crucial because it allows manufacturers to create high-quality plastic products that meet the desired specifications. The precision and accuracy of the mold tooling process directly impact the quality of the final product. Poorly designed or fabricated molds can result in defects, such as warping, distortion, or parting lines, which can compromise the integrity of the product.

Precision Injection Mold Tooling Steps
Step 1 – Designing the Mold
The first step is designing the mold. This involves creating a detailed blueprint of the mold, including the shape, size, and dimensions. The design must also take into account the type of plastic material that will be used, as different materials require different mold designs.
During this phase, the design team will typically use computer-aided design (CAD) software to create a 3D model of the mold. This allows the team to inspect and refine the mold design before moving on to the next step.
Step 2 – Tooling Fabrication
Once the mold design is complete, the next step is tooling fabrication. This involves the creation of the mold itself, which is typically made from steel or aluminum. The fabrication process requires great precision and attention to detail to ensure that the mold is made to the exact specifications of the design.
During this phase, the mold is machined and assembled by highly skilled technicians. The mold must be made to exacting tolerances to ensure that it will function properly during the injection molding process.
Step 3 – Mold Assembly
After the mold is fabricated, the next step is mold assembly. This involves the installation of the mold components, including the core, cavity, and ejector pins. The mold must be assembled with great care and precision to ensure that all components fit together properly.
During this phase, the mold is inspected and tested to ensure that it is functioning as intended. Any issues or defects are addressed before moving on to the final step.
Step 4 – Mold Testing
The final step involves injecting plastic material into the mold and testing it to ensure that the final product meets the desired specifications. The testing process may involve adjusting the mold design or fabrication as needed to ensure that the final product meets the desired quality standards.
During this phase, the injection molding process is closely monitored to identify any issues or defects in the final product. Testing is typically conducted using various measurement tools and techniques to ensure that the final product meets the desired precision and accuracy.
Precision injection mold tooling is a crucial process in the manufacturing of high-quality plastic products. It demands great precision and attention to detail to ensure that the final product meets the desired specifications. By following the steps outlined in this article, manufacturers can ensure that their precision injection mold tooling process is efficient and effective, resulting in high-quality products that meet the needs of their customers.
Contact Us


