3D Scanning Rapid Prototyping Fasten Production in a Cost-saving Way
Introduction
Rapid prototyping is a critical stage in the product development process. It allows manufacturers to create accurate, functional prototypes of products quickly and cost-effectively. These prototypes can be used for testing and validation, ensuring that the final product meets the desired specifications. In recent years, 3D scanning has emerged as a valuable tool for rapid prototyping. 3D scanning technology captures the physical shape and dimensions of an object, creating a digital model that can be used to create a prototype. 3D scanning rapid prototyping has revolutionized the production process, making it faster, more accurate, and more cost-effective.

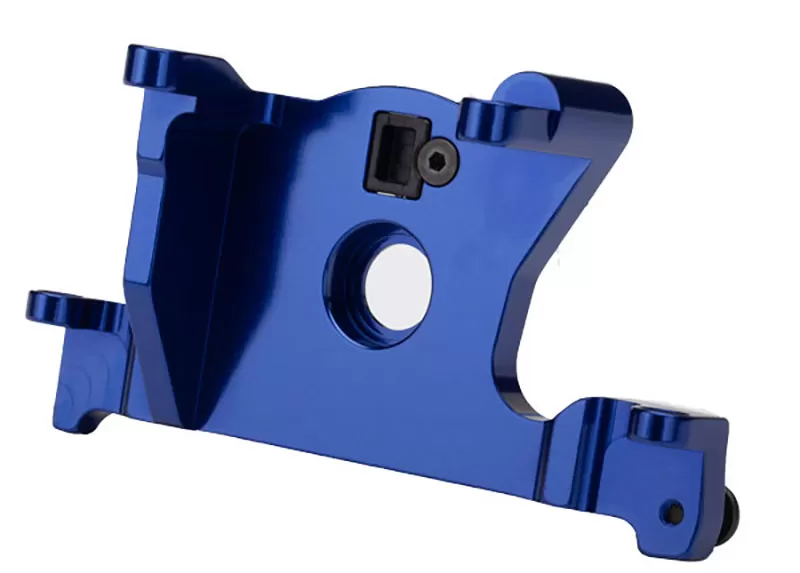
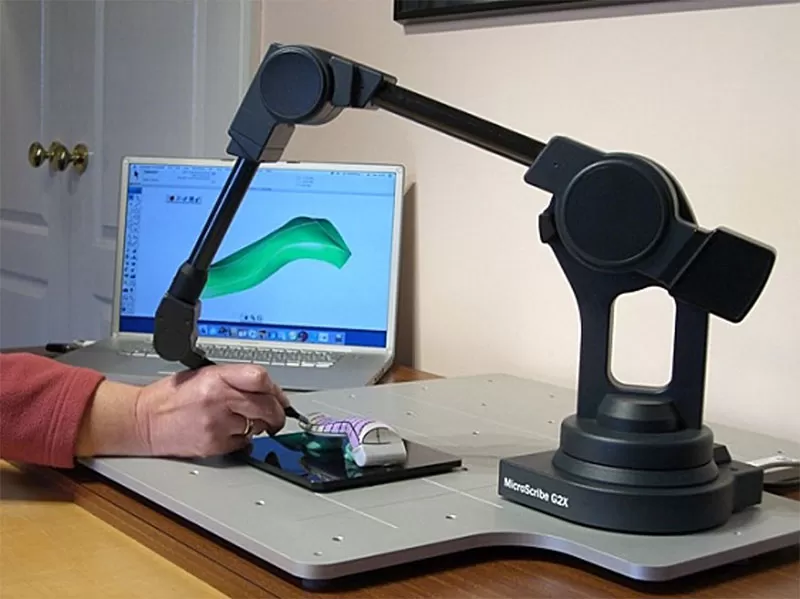
3d Scan For Fast 3d Model
What is 3D Scanning?
3D scanning for product design is a process that captures the physical shape and dimensions of an object using specialized technology. This technology creates a digital model of the object that can be used for a variety of purposes, including rapid prototyping.
There are several types of 3D scanning methods available, including:
Laser Triangulation
This method uses a laser to project a line or dot pattern onto the object being scanned. The laser measures the distance between the scanner and the object, creating a 3D point cloud that can be used to create a digital model.
Structured Light Scanning
Structured light scanning uses a projector to display a series of patterns onto the object being scanned. The scanner then captures images of the patterns and uses them to create a 3D point cloud.
Photogrammetry
Photogrammetry uses multiple photographs of an object taken from different angles to create a 3D model. This method is often used in situations where other scanning methods are not practical.
CT Scanning
CT scanning uses X-rays to create a 3D model of an object’s internal structures. This method is often used in medical applications but can also be used for rapid prototyping.
When it comes to rapid prototyping, laser triangulation and structured light scanning are the most commonly used methods. Both methods offer high levels of accuracy and are well-suited for creating 3D models that can be used for rapid prototyping.
There are several advantages to using 3D scanning rapid prototyping. First and foremost, 3D scanning technology can capture highly accurate measurements of an object’s physical shape and dimensions. This level of accuracy is critical when creating a prototype that needs to meet specific design specifications. Additionally, 3D scanning can speed up the prototyping process by eliminating the need for manual measurements and creating a digital model that can be used to create the prototype. This can reduce the time required to create and test multiple iterations of a design.
However, there are also some disadvantages to using 3D scanning rapid prototyping. One of the main challenges is that the accuracy of the 3D scan is dependent on the quality of the equipment and the scanning process. This means that if the equipment or process is not of high quality, the resulting 3D model may not be accurate enough for rapid prototyping. Additionally, 3D scanning can be expensive, especially for high-end equipment or specialized scanning services.

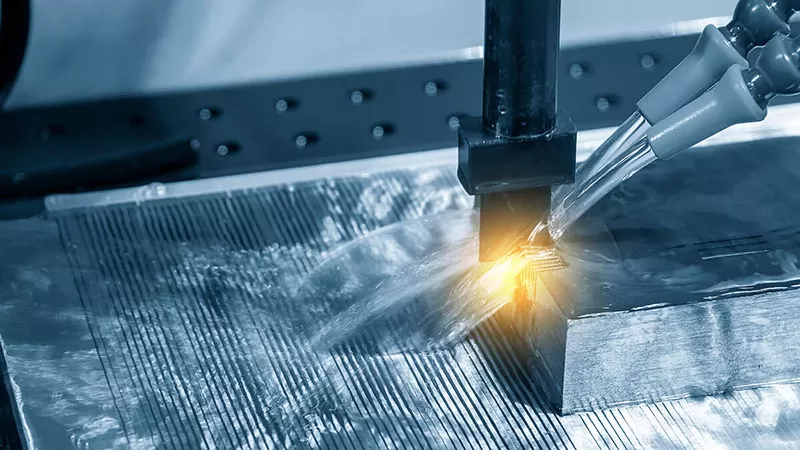
3d Scann Under Processing
The Process of 3D Scanning Rapid Prototyping
Creating accurate 3D scans of existing objects is a critical step in the rapid prototyping process. The following is a step-by-step guide to creating high-quality 3D scans:
Step 1: Prepare the Object
Before scanning, it is essential to prepare the object being scanned. This involves cleaning the object to remove any dirt or debris that could affect the accuracy of the scan. It is also important to remove any reflective surfaces or objects that could interfere with the scanning process.
Step 2: Position the Object
Next, the object should be positioned correctly for scanning. The object should be placed on a stable surface and positioned in a way that allows the scanner to capture all necessary angles and details.
Step 3: Set up the Scanner
The scanner should be set up according to the manufacturer’s instructions. This can involve calibrating the scanner, setting the scanning parameters, and positioning the scanner in the correct location relative to the object.
Step 4: Choose the Right Scanning Parameters
Choosing the right scanning parameters is critical for creating an accurate 3D scan. The scanning parameters will depend on the size and complexity of the object being scanned, as well as the desired level of detail. Some of the key parameters to consider include the resolution, the scanning speed, and the color depth.
Step 5: Begin Scanning
Once the scanner is set up and the parameters are chosen, it is time to begin scanning. The scanning process involves moving the scanner around the object, capturing multiple images from different angles. It is important to ensure that all necessary angles and details are captured during the scanning process.
Step 6: Post-Processing
After the scanning is complete, the data is typically processed using specialized software. This involves converting the scanned data into a 3D model that can be used for rapid prototyping. The software will typically include tools for editing and refining the 3D model, such as smoothing out rough edges or removing unwanted details.
Importance of Preparing the Object before Scanning
Preparing the object before scanning is critical for ensuring an accurate 3D scan. Any dirt or debris on the object can affect the accuracy of the scan, and reflective surfaces or objects can interfere with the scanning process. By cleaning the object and removing any reflective surfaces, the scanning process can be more accurate and produce a higher-quality 3D model.
Choosing the Right Scanning Parameters
Choosing the right scanning parameters is also critical for creating an accurate 3D scan. The resolution, scanning speed, and color depth can all affect the quality of the scan. For example, higher resolution can produce a more detailed 3D model, but it may take longer to scan. It is important to choose the right scanning parameters based on the size and complexity of the object being scanned and the desired level of detail.
Tips for Avoiding Common Scanning Mistakes
To ensure the best possible 3D scan, it is important to avoid common scanning mistakes. Some tips to consider include:
- Keep a consistent distance between the scanner and the object to ensure consistent resolution and image quality.
- Use a tripod or other stable support to prevent camera shake and ensure consistent image alignment.
- Use a matte spray or powder to reduce the reflection of shiny or reflective surfaces.
- Be mindful of shadows and lighting, as they can affect the accuracy of the scan.
- Capture multiple scans from different angles to ensure all necessary details are captured.
Overview of Software Used to Process the Scanned Data
After the scanning process is complete, the scanned data needs to be processed using specialized software. The software typically includes tools for editing and refining the 3D model, such as smoothing out rough edges or removing unwanted details. Some of the most commonly used software for processing 3D scans for rapid prototyping include:
- MeshLab: An open-source software that allows users to edit and refine 3D models.
- Geomatic: A professional-grade software that offers advanced editing and refinement tools for 3D models.
- Autodesk Mesh mixer: A free software that allows users to edit and refine 3D models for rapid prototyping.

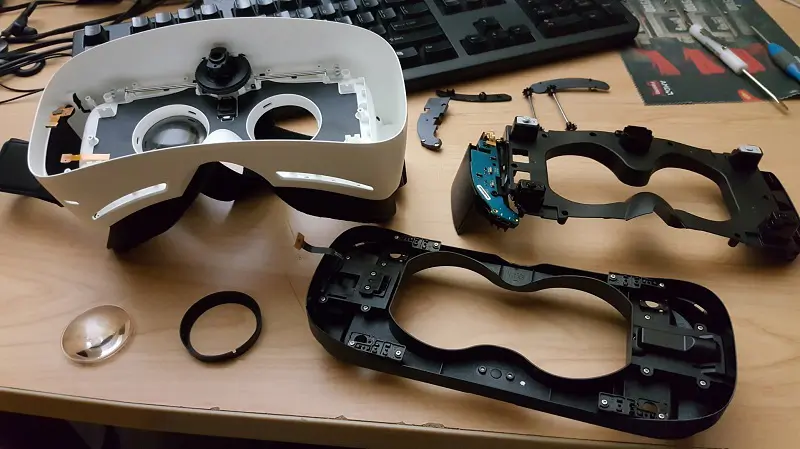
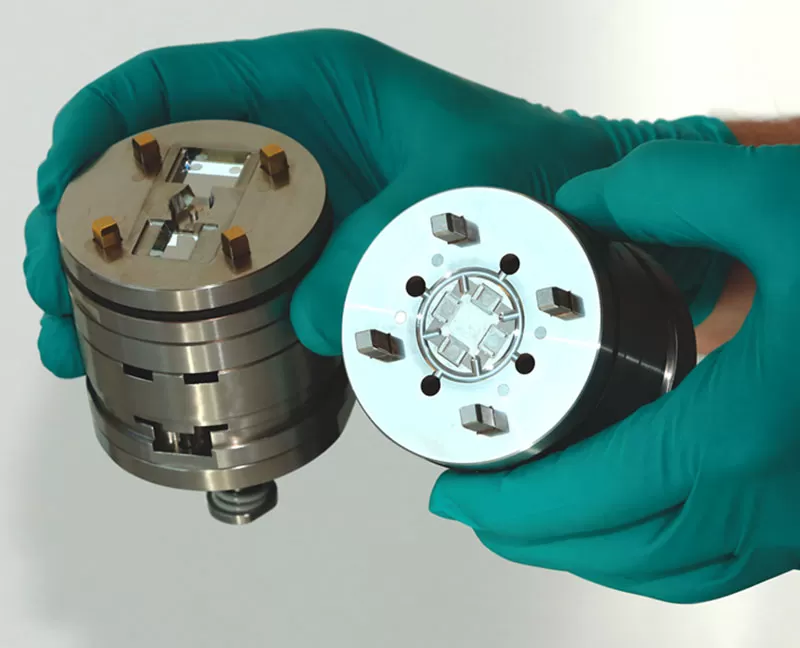
Automative Lighting Made By Sla 3d Printing
Creating Prototypes from 3D Scans
Once a 3D scan has been created, the next step is to use that data to create a physical prototype. There are several rapid prototyping methods available, each with its own advantages and disadvantages. The following is an overview of the different types of rapid prototyping methods available, as well as some tips for choosing the right method based on the object being scanned and the end-use of the prototype.
Types of Rapid Prototyping Methods
3D Printing
3D printing is a popular rapid prototyping method that uses a printer to create a physical object layer by layer. 3D printing can produce complex geometries and intricate details, making it well-suited for creating prototypes with high detail and accuracy. However, 3D printing can be time-consuming and expensive, especially for larger objects.
CNC Machining
CNC machining is a subtractive manufacturing process that uses a computer-controlled machine to remove material from a block of material. CNC machining can produce high-quality prototypes with excellent surface finish and dimensional accuracy. However, it can be time-consuming and expensive, especially for complex geometries.
Advantages and Disadvantages of Each Method
Each rapid prototyping method has its own advantages and disadvantages. 3D printing is well-suited for creating prototypes with high detail and accuracy, but it can be time-consuming and expensive. CNC machining can produce high-quality prototypes with excellent surface finish and dimensional accuracy, but it can be time-consuming and expensive, especially for complex geometries. Injection molding can produce high-quality prototypes with excellent surface finish and dimensional accuracy, but it can be expensive and time-consuming to create the initial mold.
Choosing the Right Prototyping Method
When choosing the right prototyping method, it is important to consider the object being scanned and the end-use of the prototype. For example, 3D printing may be the best option for creating prototypes with high detail and accuracy, while CNC machining may be the best option for creating prototypes with excellent surface finish and dimensional accuracy. Injection molding may be the best option for creating prototypes that will be used for mass production.
Tips for Choosing the Right Prototyping Method
To choose the right prototyping method, consider the following tips:
- Consider the size and complexity of the object being scanned.
- Consider the level of detail and accuracy required for the prototype.
- Consider the surface finish and dimensional accuracy required for the prototype.
- Consider the end-use of the prototype, such as whether it will be used for testing, validation, or mass production.
- Consider the cost and time required for each prototyping method.
Examples of Successful 3D Scanning Rapid Prototyping Projects
3D scanning rapid prototyping have become increasingly popular in a range of industries, from automotive and aerospace to medical and consumer goods. Here are a few examples of successful rapid prototyping projects that have used 3D scans:
Automotive Industry
In the automotive industry, 3D scanning is used to create accurate prototypes of car parts and components. For example, Ford Motor Company used 3D scanning and rapid prototyping to create a new engine cover for the Ford Mustang. The 3D scan was used to create a digital model of the engine cover, which was then 3D printed and tested for fit and function. The new engine cover was successfully integrated into the final production design.
Aerospace Industry
In the aerospace industry, 3D scanning is used to create prototypes of aircraft parts and components. For example, NASA used 3D scanning and rapid prototyping to create a prototype of a new rocket engine injector. The 3D scan was used to create a digital model of the injector, which was then 3D printed and tested for performance. The new injector was successfully integrated into the final production design.
Medical Industry
In the medical industry, 3D scanning and rapid prototyping are used for a range of applications, including surgical planning and training, and the creation of medical devices. For example, a medical device company used 3D scanning to create a digital model of a patient’s skull, which was then used to create a custom cranial implant. The 3D scan allowed for a precise fit of the implant, which reduced the risk of complications during the surgery and improved the patient’s recovery time.
Consumer Goods Industry
In the consumer goods industry, 3D scanning and rapid prototyping are used to create prototypes of products, such as toys and household appliances. For example, a toy company used 3D scanning to create a digital model of a new action figure. The 3D scan allowed for accurate reproduction of the figure’s intricate details, which improved the final product’s quality and appeal.
Applications of 3D Scanning Rapid Prototyping
3D scanning and rapid prototyping have become essential technologies for a range of industries, including manufacturing, automotive, aerospace, medical, and consumer goods. These technologies offer numerous benefits, including improved product development, reduced time-to-market, and cost savings. The following is an overview of the industries that can benefit from using 3D scanning rapid prototyping, as well as the potential cost savings associated with these technologies.
Industries that Can Benefit from 3D Scanning and Rapid Prototyping
Manufacturing
Manufacturing companies can benefit from using 3D scanning and rapid prototyping to create accurate and functional prototypes quickly and cost-effectively. These technologies can help manufacturers to identify and correct design flaws earlier in the development process, which can reduce the risk of costly errors during production.
Automotive
The automotive industry can benefit from using 3D scanning and rapid prototyping to create prototypes of car parts and components quickly and accurately. These technologies can help automotive manufacturers to reduce the time and cost associated with traditional prototyping methods, such as CNC machining.
Aerospace
The aerospace industry can benefit from using 3D scanning and rapid prototyping to create prototypes of aircraft parts and components. These technologies can help aerospace manufacturers to reduce the time and cost associated with traditional prototyping methods, such as casting and forging.
Medical
The medical industry can benefit from using 3D scanning and rapid prototyping to create customized medical devices and implants. These technologies can help medical device companies to create accurate and functional prototypes of patient-specific devices, which can improve patient outcomes and reduce the risk of complications during surgery.
Consumer Goods
The consumer goods industry can benefit from using 3D scanning and rapid prototyping to create prototypes of products, such as toys and household appliances. These technologies can help manufacturers to create accurate and functional prototypes quickly and cost-effectively, which can improve the final product’s quality and appeal.
How 3D Scanning Rapid Prototyping Improve Product Development and Reduce Time-to-Market
3D scanning and rapid prototyping offer numerous benefits for product development, including:
- Improved accuracy: 3D scanning can capture precise details and dimensions of an object, which can be used to create an accurate and functional prototype.
- Faster prototyping: Rapid prototyping can create a physical prototype quickly, reducing the time required for traditional prototyping methods, such as CNC machining or injection molding.
- Reduced costs: 3D scanning and rapid prototyping can reduce costs associated with traditional prototyping methods, such as tooling and manufacturing expenses.
- Early error detection: 3D scanning and rapid prototyping can identify design flaws early in the development process, reducing the risk of costly errors during production.
By using 3D scanning rapid prototyping, manufacturers can reduce the time and cost associated with product development, improve the final product’s quality and functionality, and bring products to market faster.
Potential Cost Savings Associated with 3D Scanning and Rapid Prototyping
Using 3D scanning and rapid prototyping can lead to significant cost savings for manufacturers. By reducing the time and cost associated with traditional prototyping methods, such as CNC machining and injection molding, manufacturers can save on tooling and manufacturing expenses. Additionally, early error detection during the development process can reduce the risk of costly errors during production, further reducing costs.
For example, a study conducted by Deloitte found that companies using 3D scanning rapid prototyping can expect cost savings of up to 90% compared to traditional prototyping methods. This is due to the reduced time and cost associated with creating physical prototypes, as well as the ability to identify and correct design flaws earlier in the development process.
Conclusion
3D scanning rapid prototyping have become essential technologies for a range of industries, including manufacturing, automotive, aerospace, medical, and consumer goods. These technologies offer numerous benefits, including improved accuracy, faster prototyping, reduced costs, and early error detection. By using these technologies, manufacturers can improve their product development process, reduce time-to-market, and save costs associated with traditional prototyping methods.
We urge businesses to consider implementing 3D scanning and rapid prototyping in their product development process. By doing so, they can improve their prototyping process, reduce time-to-market, and save costs associated with traditional prototyping methods. With the potential for significant cost savings and improved product quality, it is clear that 3D scanning and rapid prototyping will continue to play a critical role in the product development process.
In today’s fast-paced market, businesses must stay agile and adapt to changing customer demands. By implementing 3D scanning rapid prototyping in their product development process, businesses can stay ahead of the curve and bring products to market faster and with better quality. They can also gain a competitive edge and improve their bottom line.